
05 / 07 · Boise install guide
Boise Stair and Transition Flooring Guide
Stairs and doorways are where a good install shows its quality and a rushed one shows its shortcuts. Treads, nosings, riser heights and the strip where two floors meet.
Why these details matter
Most of a floor is repetition: row after row of the same plank. Stairs and transitions are the opposite. Every tread is measured and cut individually, every doorway has its own height problem, and every one of them is right at eye level or underfoot where people notice. They also take far longer per square foot than open floor, which is why stairs are usually priced per step, not by area.
Plan them early. The flooring you choose for the main level decides what's available for the stairs (not every LVP line has a matching stair nose), and the thickness of each floor decides which transitions will work between rooms.
Stair options
Solid wood treads and risers
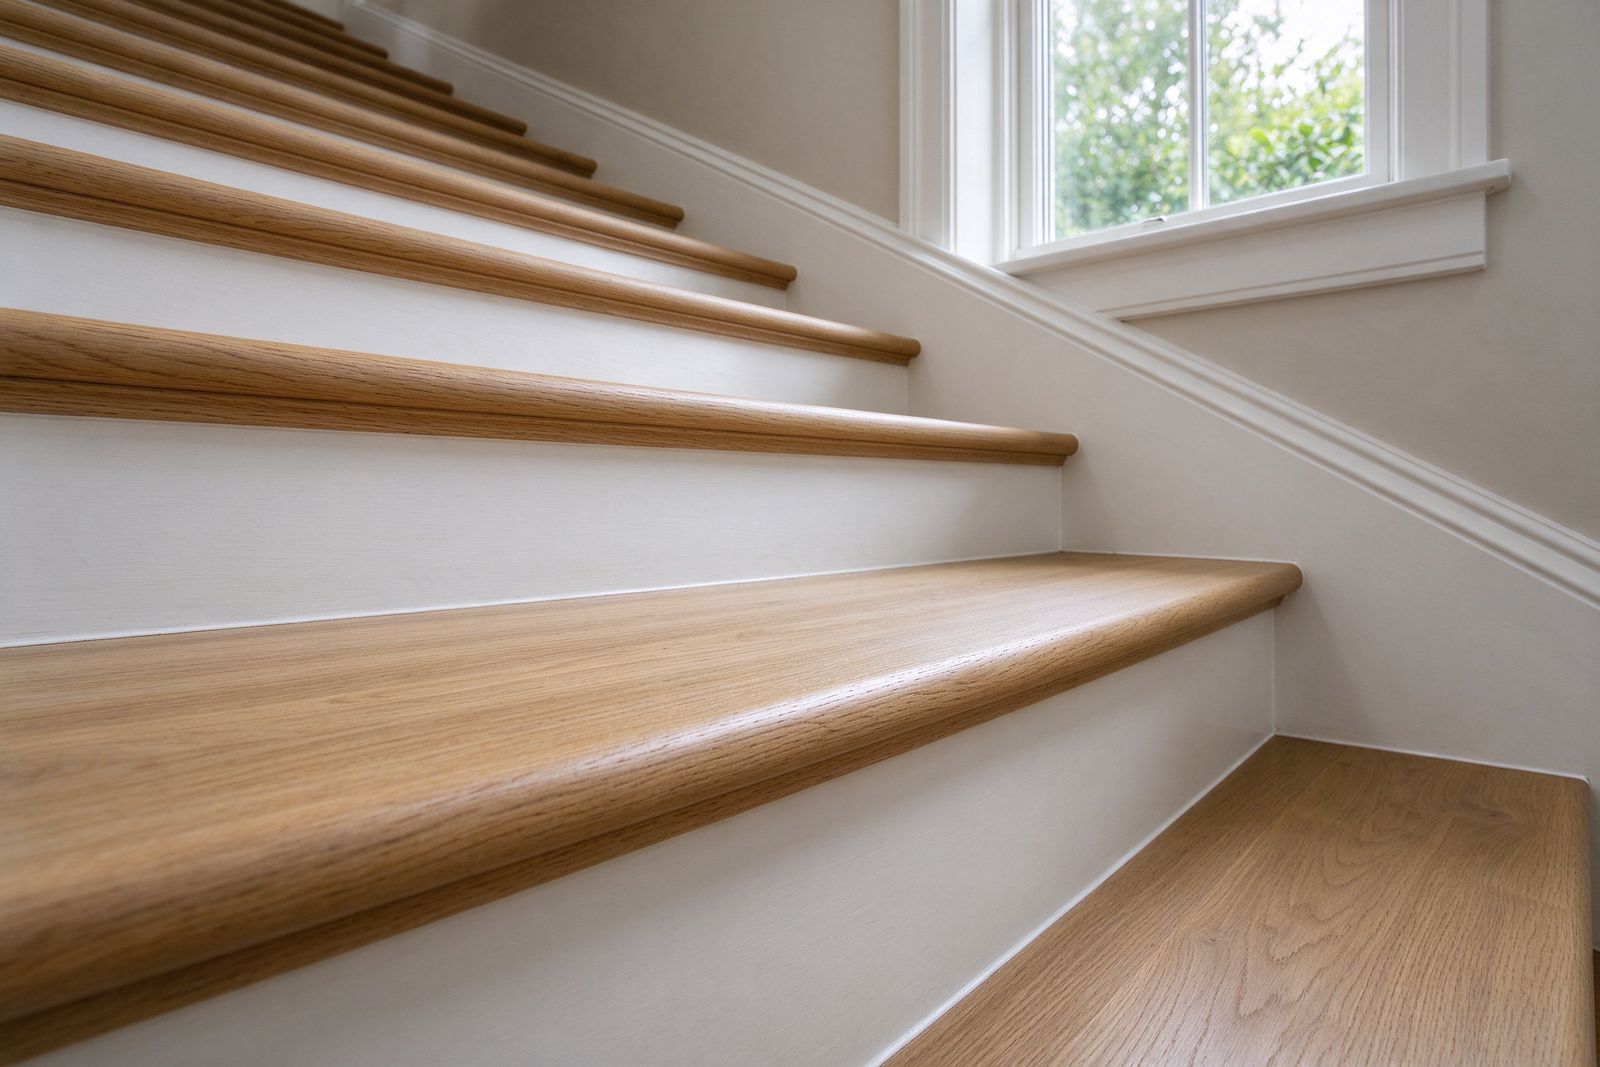
The traditional approach replaces the treads with solid hardwood treads, often with a rounded bullnose edge, and the risers with painted or stained boards. It's the most durable option and can be refinished with the floor. It's also the most labor. Old treads come off, and each new one is scribed to fit the skirt boards and walls on either side.
Retrofit treads and stair caps
Retrofit or cap treads go over the existing stair structure after the old nosing is cut back flush with the riser. They're thinner than a full tread, which matters for riser heights (more on that below), and they're a common way to get hardwood or vinyl stairs without demolishing the staircase.
LVP and laminate stairs
Plank flooring on stairs is glued and fastened to each tread, with a matching stair nose at the front edge. Nosing comes in flush (sits level with the tread surface) and overlap styles. The planks are not floated on stairs. Ask whether the stair nose is made for the specific product line; mixing brands rarely matches in color or thickness.
Carpet on stairs
Carpet goes over pad and is held with tack strip at the back of each tread and bottom of each riser. Two common styles: waterfall, where the carpet drapes over the nose to the riser below, and cap-and-band (sometimes called Hollywood), where it's wrapped tightly around the nose and tucked under. Cap-and-band looks more tailored and takes longer.
Riser heights and safety
This is the detail that gets missed. Residential building codes limit how much riser heights can vary within one flight of stairs; the International Residential Code, which many jurisdictions adopt, uses 3/8 inch as the maximum difference between the tallest and shortest riser. People's feet expect every step to match, and a step that's off by more than that is a trip hazard.
New flooring can create that problem. Adding a thick floor at the top landing makes the top riser shorter. Removing tile at the bottom makes the bottom riser taller. Cap treads add a little to every step except where the stair meets the floor. A careful installer measures the finished heights of both floors before choosing stair materials and adjusts so the first and last risers still match the rest. If your stairs are part of the job, ask how that will be handled, and check with your city's building department if the stair itself is being altered.
Ask before the install
"What will the top and bottom riser heights be once both floors are in?" If the answer is a shrug, keep asking.
Handrails and balusters belong in the same conversation. Replacing treads can mean removing and reinstalling balusters, and an open-sided stair needs its rail to stay solid when the work is done.
Sequence
How a staircase usually gets done
- 01
Measure finished heights
Top landing, bottom floor and every riser, with the new flooring thicknesses added in, so the material choice keeps steps uniform.
- 02
Strip the old surface
Carpet, pad, tack strip and staples off; old nosings cut back if cap treads are going on. Squeaky treads get fastened while they're exposed.
- 03
Risers first, then treads
Risers go on so the tread can sit tight against them. Each tread is scribed to the walls or skirt boards on both sides.
- 04
Glue and fasten every piece
Stair parts are adhered and mechanically fastened. Nothing floats on a stair.
- 05
Trim, fill and finish
Small moldings close gaps at the sides, fasteners are filled, and finish is applied where the treads are unfinished wood.
Transitions between floors
Wherever one floor meets another, at a doorway, at a sliding door, where tile meets plank, something has to cover the edge and handle any height difference. The common profiles:
| Profile | Used where | Note |
|---|---|---|
| T-molding | Two floors at about the same height, or an expansion break in a floating floor | Leaves room for the floating floor to move underneath |
| Reducer | A thicker floor stepping down to a thinner one | The slope makes the height change easier to walk over |
| End cap / threshold | Against a sliding door track, fireplace hearth or cabinet edge | Finishes the floor's edge where nothing continues |
| Carpet transition | Hard floor meeting carpet | Often a metal or wood strip that grips the carpet edge |
| Stair nose | Top landing edge, or each tread | Match it to the specific product line where possible |
The less height difference there is to manage, the better. That's partly a planning question: if tile with a mortar bed sits higher than a thin LVP in the next room, the transition will be a noticeable ramp. Sometimes an underlayment or leveler under the thinner floor brings the two closer. Low-profile metal strips, like the one in the gallery on the home page, work when the heights already match.
Floating floors add one more rule: the transition can't pin the floor. T-moldings for floating floors usually fasten to a track on the subfloor and sit over the planks without nailing through them.
Transition picker
Where does your new floor stop?
General guidanceT-molding, or a flush low-profile strip
A T-molding covers the joint and leaves the floating floor room to move. Where both floors are fixed and flush, a slim metal strip can work.
Reducer
A sloped reducer steps the thicker floor down. Big differences may need the lower floor built up first; a tall ramp is a trip edge.
Carpet transition strip
A strip that holds the carpet edge tight and finishes the hard floor's edge. Carpet height after pad is usually close to plank height, but check.
End cap or threshold
Finishes the floor's edge where nothing continues. For a floating floor, leave the expansion gap underneath it.
Stair nose
A nose made for the product line, glued and fastened. Recheck the top riser height with the new floor thickness included.
Stairs in the plan?Count the steps and note whether they're carpeted now. The quote form has a spot for it.
Request an install quoteQuestions
Stairs and transitions questions
Can LVP go on stairs?
Yes, with matching stair nosing for that product line. On stairs the planks are glued and fastened, not floated.
Why are stairs priced per step?
Each tread and riser is measured, cut and fitted individually, and the labor per step is far higher than open floor. Per-step pricing reflects that.
Will new flooring change my stair heights?
It can. Added or removed thickness at the top or bottom changes those risers. A careful installer measures finished heights first so the steps stay consistent.
Do I need a transition between every room?
Not always. A floating floor can run through doorways until it reaches the maker's maximum run length. Where two different floors meet, some kind of transition is needed.
Next step
Stairs change the price most
Note the number of steps, what covers them now, and where the new floor meets other floors. Those details make a quote much more accurate.
Open the quote form