
02 / 07 · Boise install guide
Boise Subfloor Prep and Moisture Testing
The part of a flooring job nobody sees and almost every failure traces back to. What gets checked, how moisture is measured on a slab and on wood, and what a written prep scope should say.
Why prep decides the result
A new floor can only be as good as what it sits on. Most of the complaints people have about a flooring job a year later (a soft spot, a squeak, joints peaking, tile cracking along a line, adhesive letting go) come from a subfloor problem that was covered instead of fixed.
Prep is also where quotes differ the most. One installer prices a full day of grinding, patching and screwing down loose panels. Another prices none, because they haven't looked yet or because they plan to find out on install day. Neither number means much until you know what's under your current floor and what condition it's in.
Slabs and wood subfloors around the valley
Treasure Valley homes sit on a mix of foundations. You'll find concrete slab-on-grade, full or partial basements with slab floors, and wood-framed floors over a crawlspace, sometimes all within one neighborhood and occasionally within one house. Each subfloor has its own failure modes.
Concrete slabs
Concrete is stiff, which tile loves, but it's rarely perfectly flat and it can move moisture up from the ground below. A slab can feel dry to the touch and still deliver enough vapor to break down an adhesive or trap moisture under a vinyl floor. Cracks matter too: a hairline shrinkage crack is common, while a crack with one side higher than the other suggests movement worth asking about before covering it.
Wood subfloors
Plywood or OSB panels over joists are the norm on framed floors. The usual problems are loose panels (the source of most squeaks), seams that have swelled where water once got in, and dips between joists. Over a crawlspace, the crawlspace conditions matter: a wet crawlspace with no vapor barrier puts moisture into the framing above, and a wood floor on top will tell you about it.
Flatness, measured instead of guessed
Flat and level are different things. Level means horizontal. Flat means no humps or dips over a given distance. Floors don't have to be level (most older floors aren't), but they do have to be flat within the tolerance the flooring maker publishes.
Tolerances are commonly written as a maximum deviation over a distance, something like 3/16 inch over 10 feet, and they vary by product. Click-lock LVP and large-format tile tend to be the strictest. The check itself is simple: a long straightedge laid across the floor in several directions, with the gaps measured and the high and low spots marked.
Fixing it means grinding high spots on concrete, filling low spots with a patching compound or a self-leveling underlayment, and on wood, planing seams, adding screws and sometimes replacing damaged panels. Self-leveler needs a primer, a properly dammed pour and drying time before anything goes on top, so it affects the schedule as well as the price.
Moisture testing, slab and wood
On concrete
Two test methods come up most often, and they measure different things:
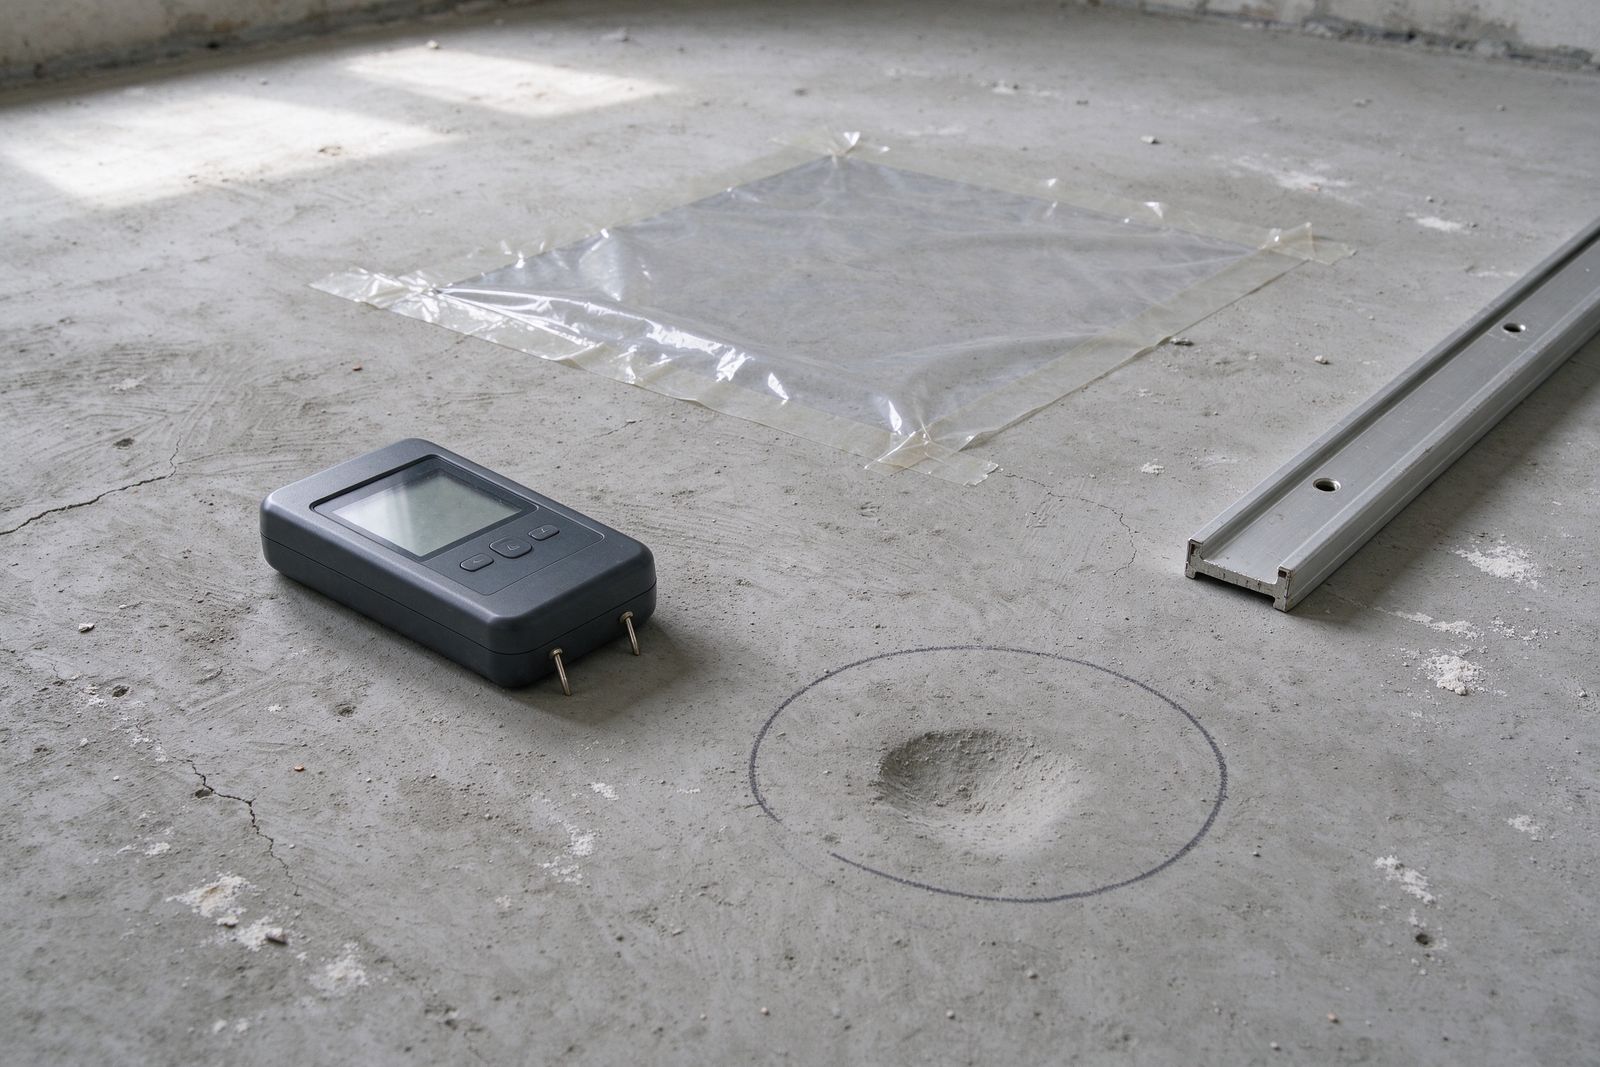
- In-situ relative humidity (ASTM F2170). Small holes are drilled to a set depth in the slab, probes are sealed in, and after an equilibration period the humidity inside the concrete is read. Many flooring and adhesive makers now specify this method and a maximum RH.
- Calcium chloride (ASTM F1869). A dish of calcium chloride sits under a sealed dome on the slab surface and is weighed before and after, giving a moisture vapor emission rate. Some manufacturers still list a maximum for it.
The plastic sheet taped to the floor (ASTM D4263) shows whether moisture is obviously coming through, and it's a quick sanity check, but most manufacturers don't accept it as the test of record. Handheld concrete meters are useful for mapping wetter and drier areas, not for meeting a warranty requirement.
On wood
For wood subfloors and wood flooring, a pin or pinless moisture meter reads moisture content. What matters is the comparison: the subfloor against the flooring, and the flooring against what's expected for the home. National Wood Flooring Association guidance has long called for the two to be within a few points of each other, tighter for wide planks than for narrow strips. Check the current numbers in the flooring maker's instructions.
Get it in writing
Ask the installer to record moisture readings, where they were taken and the method used, and keep a copy. If the floor ever has a warranty claim, those readings are the first thing a manufacturer asks for.
Which test applies to your floor?
Moisture test picker
General guidanceConcrete test, then the product's limit
- In-situ RH probes (ASTM F2170) or calcium chloride (ASTM F1869), whichever the product and adhesive specify.
- Compare against the maximum in the installation instructions.
- Ask whether a vapor barrier or moisture-mitigation primer is required.
Test, and plan for below-grade rules
- RH probes or calcium chloride per the product, taken in more than one spot.
- Confirm the product is rated for below-grade use.
- Look for signs of past water at the walls before anything is covered.
Meter the subfloor
- Pin or pinless meter readings on the subfloor across the room.
- Look for swelled seams and soft spots, which usually mean an old leak.
- Screw down loose panels while the floor is open.
Meter the subfloor and check below it
- Moisture readings on the subfloor from above.
- A look into the crawlspace: ground vapor barrier, standing water, venting.
- Fix crawlspace moisture first; a new floor won't hide it for long.
Compare subfloor to flooring
- Meter both the subfloor and a sample of the flooring boards.
- The difference should fall inside the flooring maker's limit, which is tighter for wide planks.
- Pair it with acclimation; readings tell you when the wood has settled.
Compare, and check the crawlspace
- Meter subfloor and flooring; keep the difference inside the maker's limit.
- Inspect the crawlspace vapor barrier and drainage.
- Wood floors over damp crawlspaces cup from below.
Lighter requirements, still worth a check
- Carpet and pad tolerate slab moisture better than glued floors.
- A quick test still catches a slab that will smell musty under a pad.
- Ask about a pad with a moisture barrier for basements.
Lighter requirements, still worth a check
- Carpet and pad tolerate slab moisture better than glued floors.
- A quick test still catches a slab that will smell musty under a pad.
- Ask about a pad with a moisture barrier for basements.
A prep day, step by step
Every job is different, but a thorough prep usually runs in roughly this order once the old floor is out. The removal and timeline guide covers the tear-out itself.
- 01
Clean down to the bare surface
Old adhesive ridges, staples, tack strip nails and paint drips come off. Most patching products and adhesives need a clean, sound surface to bond.
- 02
Find and mark the problems
Straightedge in several directions, high spots and low spots marked, cracks and loose panels noted. This is where the real prep scope comes from.
- 03
Take moisture readings
Slab tests set up per the product's method, or meter readings across a wood subfloor. Results recorded before anything gets covered.
- 04
Fix: grind, fill, fasten
Grind humps, patch or self-level dips, screw down loose panels, replace damaged sections. Primer goes down where the leveler requires it.
- 05
Let it dry, then check again
Patch and leveler need their cure time. A final straightedge pass confirms the floor now meets the product's tolerance.
What the quote should say about prep
A prep line that just says "floor prep as needed" leaves the door open to a surprise charge or a skipped step. A clearer quote names what was found and what will be done about it. Look for:
- Which moisture test will be used, and what happens if the slab fails it.
- Whether leveling is included, and roughly how much area it covers.
- How loose or damaged subfloor will be handled, and how extra repairs are priced.
- Who removes and disposes of the old floor, and whether that's a separate line.
Some prep can't be known until the old floor is up. That's normal. What you want is a written plan for how those discoveries get handled and approved, before the work starts. The guide to choosing an installer has more questions to bring to that conversation.
Not sure what's under your floor?Say so in the quote form. Knowing that it's unknown is useful.
Request an install quoteQuestions
Subfloor and moisture questions
Is the plastic sheet test enough for a concrete slab?
It shows obvious moisture, but most flooring and adhesive makers want an in-situ RH test or a calcium chloride test for the record. Check the product instructions for the required method.
Does a new home need moisture testing?
Yes. New concrete holds a lot of water and can take a long time to dry. A recently poured slab is one of the more common places for a moisture problem.
Will self-leveler fix any uneven floor?
It fixes low areas and gradual dips when it is primed and poured correctly. It does not fix a floor that is moving, loose panels, or a moisture problem. Those get solved first.
Why does my old floor squeak?
Most squeaks come from subfloor panels moving against nails or joists. Screwing the subfloor down while it is exposed is the usual fix and is much easier during a flooring replacement.
Next step
Prep is where quotes differ
Describe what is on the floor now and what you know about the subfloor. It helps an installer price prep honestly instead of guessing.
Open the quote form